Post by apollo on Apr 29, 2007 21:40:50 GMT -5
I wanted to leave this until I was completely done, but I'm getting close and I wanted to get some feed back on the weathering. So here it is from a month or two ago until now
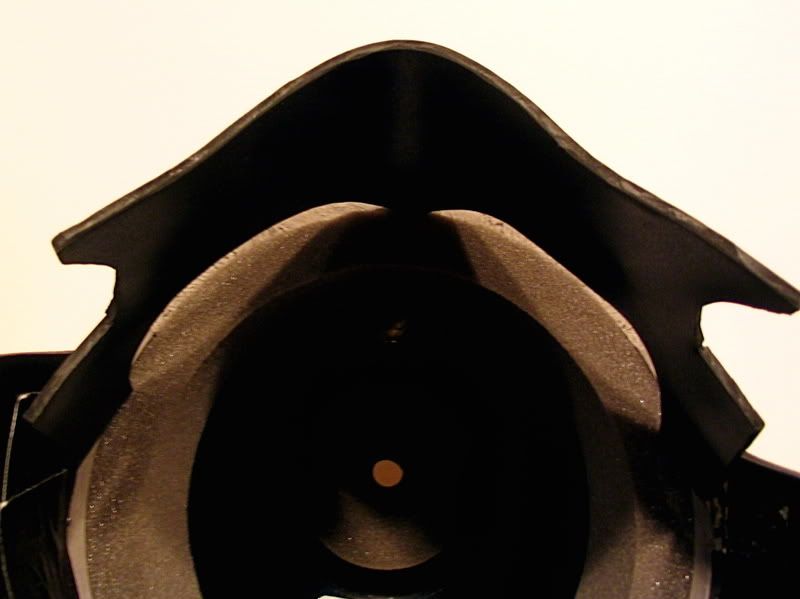
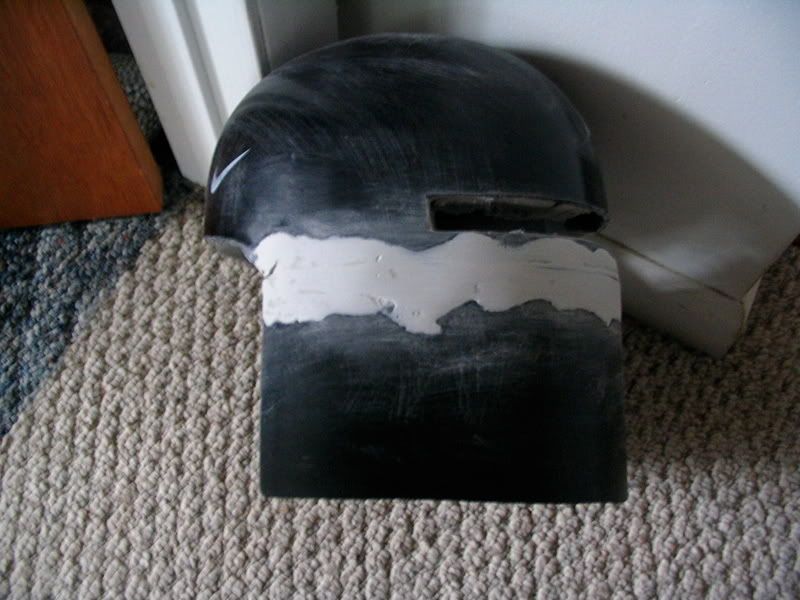
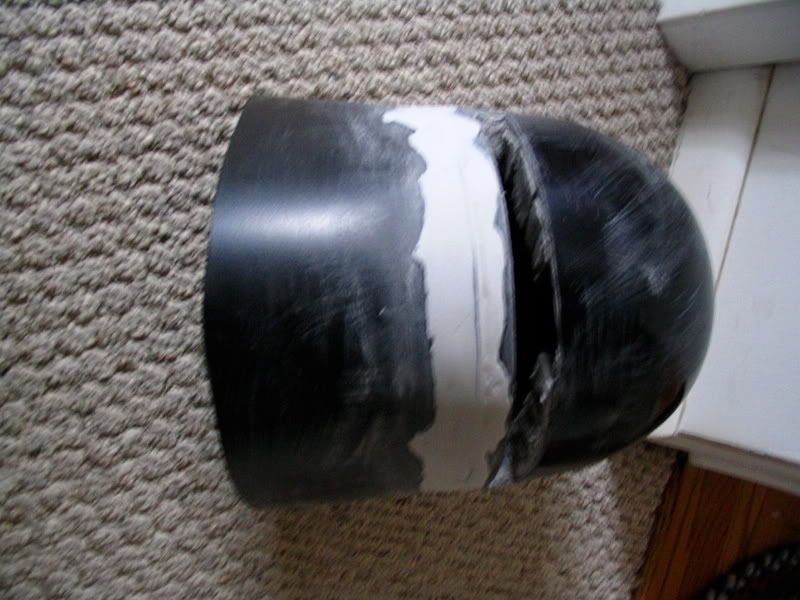
I started out with a batting helmet. Basic, generic, and with very little ornamentation. I cut the bottom with the ears off measured around it to see how much sintra I would need for the shroud. Then, I looked at five or six reference shots of the back of the GM's head for about a half an hour to see how far the shroud would come down. I then took these measurements (I don't remember either of them) and added a few centimeters to make a template. It's easier to cut plastic off than to add it back on (as if you haven't heard that 2000 times already lol). Then I cut out the plastic and stuck it in the oven for 1:30 minutes or something around there at 300 degrees. The time it takes to make sintra maleable varies, if it's not flimsy enough when you try the first time just shove it back it the oven. Here's what the two pieces look like put together with scotch tape
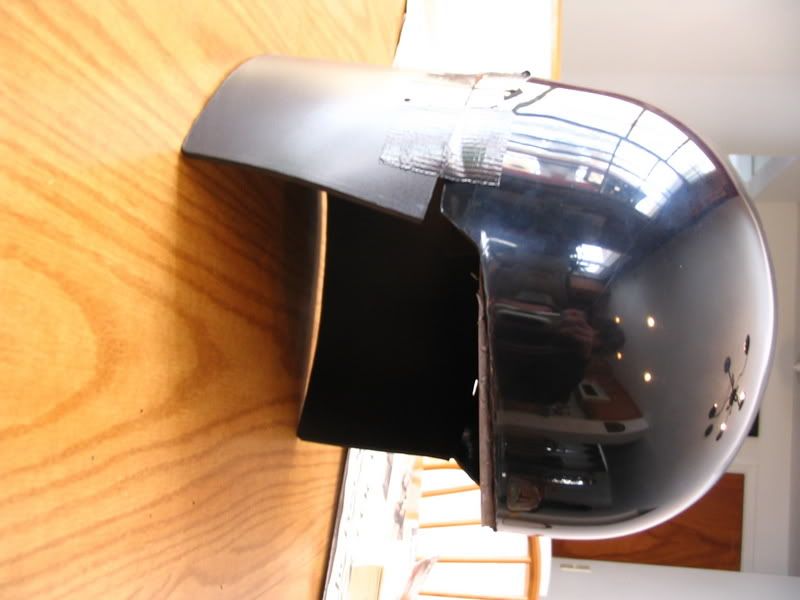
I put the helmet on and realized the shroud was way too long, I couldn't turn my head from side to side lol. No biggie, I just started cutting off 1/2 cm sections one at a time until it fit well. Then I cut off the excess lengthwise plastic et voila, the two main pieces are finished!
There was still a substantial amount of snow on the ground so I couldn't use any bondo so I started out on the face plate. I made my own grid (in hindsight, it probably would have been a better idea to use graph paper) and drew half of the face. I then used the grid to make the face symetrical and taped the template on the helmet to see how it would look.
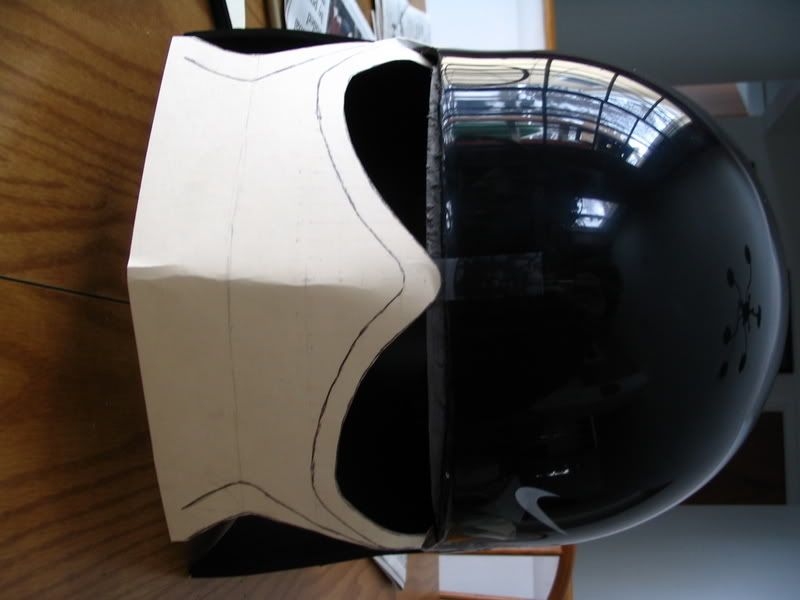
Then I stuck that on a piece of plastic, traced it, and cut it out. Next I stuck that in the oven for a good period of time and bent it to fit in the shaped of the helmet
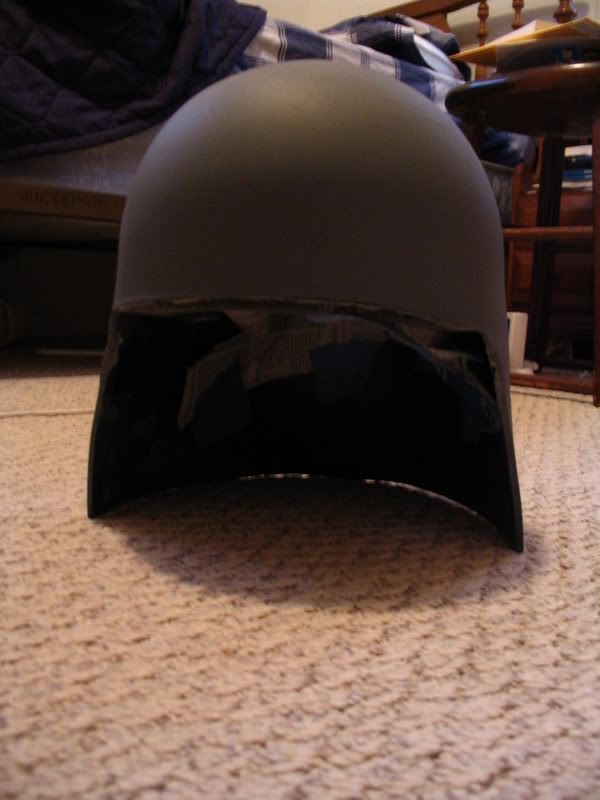
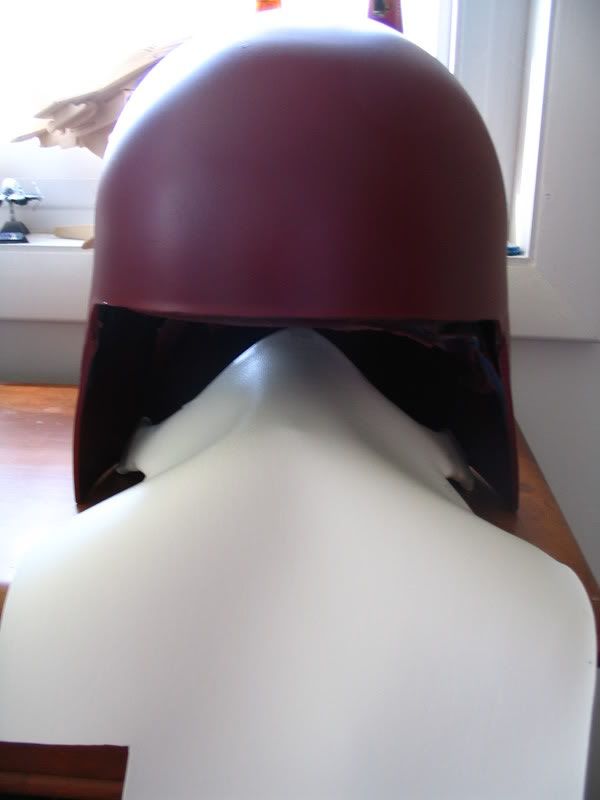
After looking at that for awhile I realized it was wrong, the face had to be more contoured to get the distinctive "nose", and not just a straight curve. Here's the re-bent version.
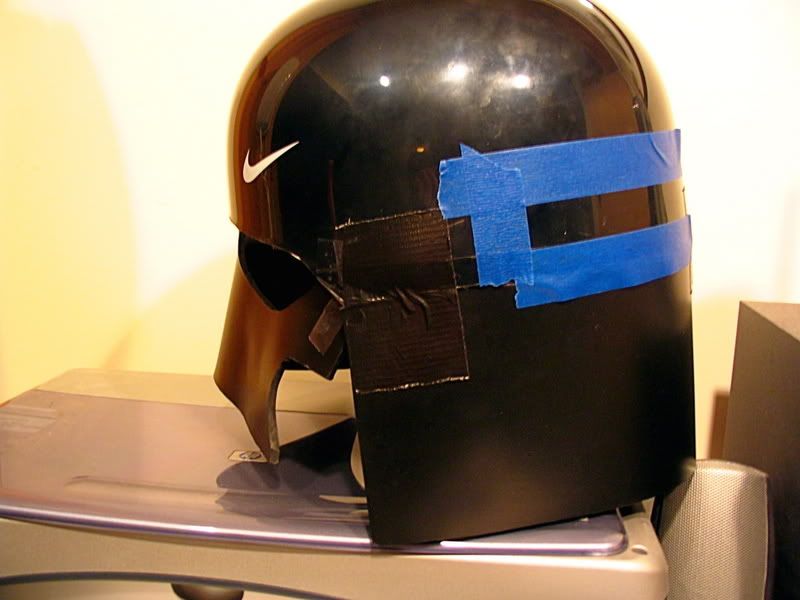
This looked leaps and bounds better in my opinion. It was also taped it to check the look. I should note, at this point nothing has been permanently attached. Everything has been held together with either scotch tape or duct tape.
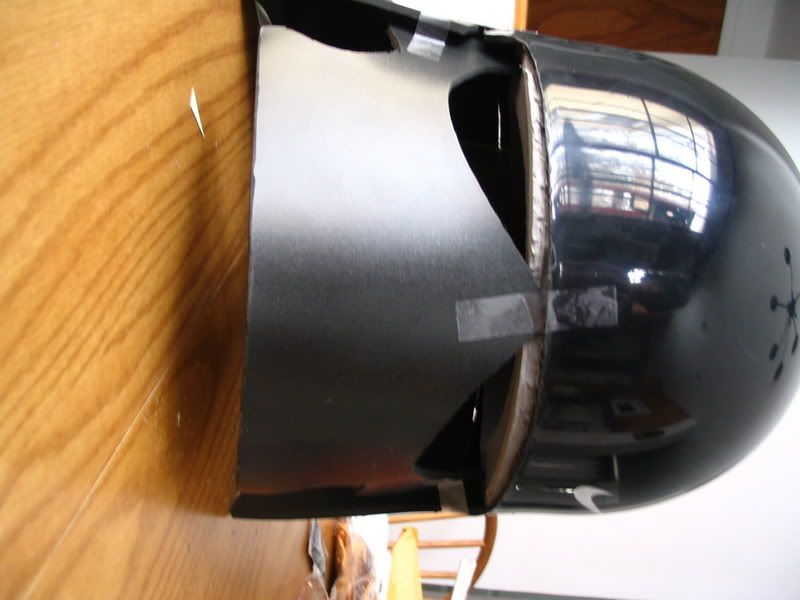
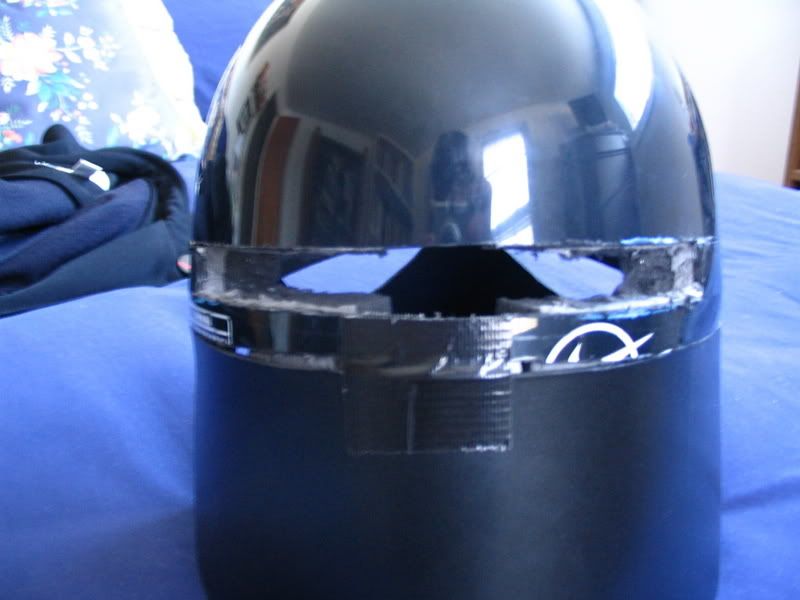
The next thing to do was to cut out the vent in the back. This is personally on my favorite parts of the whole helmet because of the air circulation I hope it will afford. I spent more time looking at reference pics and outlined where I thought the vent should be using blue painter's tape.
Then I cut that out, but I didn't cut to the very edge of where I had marked off because I can always cut more off, but I couldn't put any back on. Then I took a look at it and decided that those extra few centimeters should in fact come off.
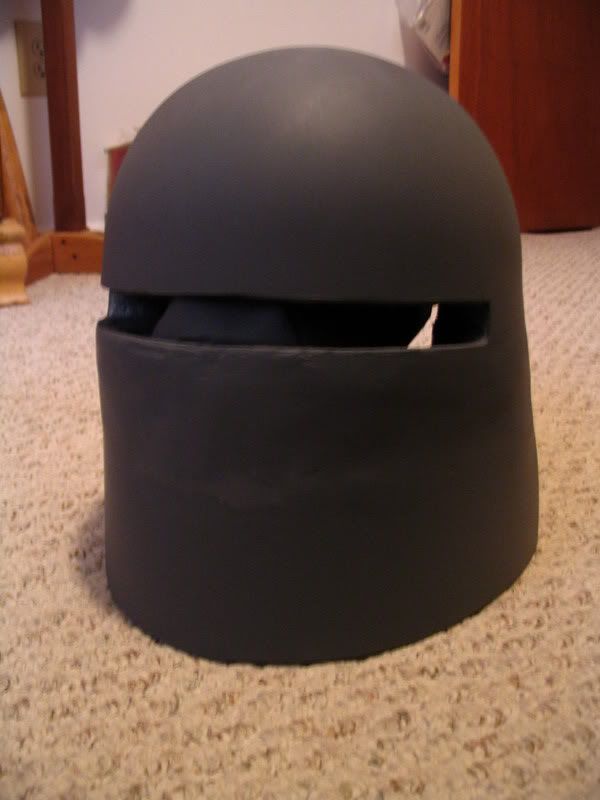
By this time, the weather had started to warm up and I was ready to bondo the shroud to the dome. This was the first time I had used bondo in my entire life, so although there were some mistakes I can testify that this stuff is remarkably easy to use. The two biggest mistakes I made were that I put it on much thicker than was needed and I didn't mix it up very well. Having it on too thick meant I had to do a lot of extra sanding. Not mixing it well meant that the sanding was harder and it gummed up my sandpaper. Here's the first sanded version
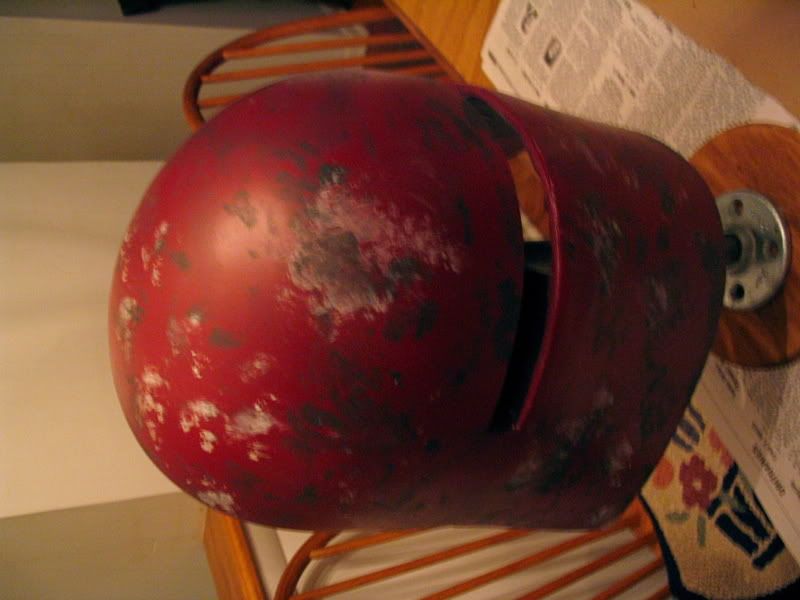
I next hit it up with some grey primer to see how it looked. What I saw was a mess of divits and some glaring seam lines. This was all made worse by the fact that the poorly mixed bondo didn't take the primer well so it was a slightly different color than the rest of the helmet. Also, when prepping for bondo I sanded the area that was going to be bondo-ed with 60 grit sandpaper. I then went overboard and sanded the whole dome with 60 girt sandpaper. The dome is coated in some kind of soft plastic/gel material so it also had some large scratches in it *sigh*. Time for bondo application #2. This time I still didn't mix it very well again because I hadn't yet realized that that was one of my problems with the first application. I did apply it to cover more area in a thinner layer however so it would be easier to sand. The result was more divits, but smaller ones. I filled those in with spackle because I didn't want to mix any more bondo, and wiped it down with a washcloth to be primed. BIG MISTAKE. Spackle doesn't mix with water so my divits came back. Again, *sigh*. I sanded more to get rid of some divits and make others smaller and primed it grey again. I realized that the VERY SMALL divits actually worked well with the scratches in the dome to make it look pitted and battle scarred instead of like a poorly constructed prop (that's my opinion, you all may think it still looks like crap lol).
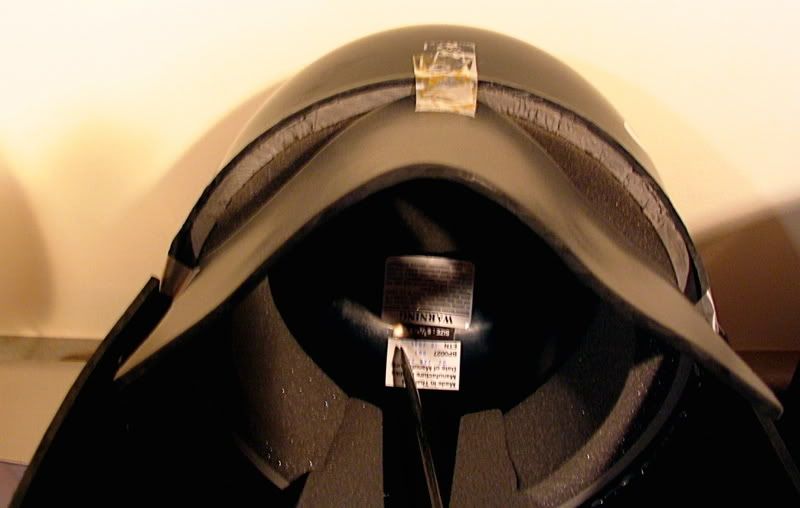
I left a lot of duct tape on the inside for structure. Does it look pretty? No. Will it remain hidden from the general public while keeping the shroud from falling off? Yes. I tend to use duct tape a lot for structural support during construction, and even for troop worthy pieces. It's one of my personal preference. Now it was finally ready for the burgundy top coat
I thought I took more pictures of that, but that's the only one I can find. The helmet sat looking pretty but incomplete for a week or so until I finally got the time and resources to weather. I tested out TB's awsome weathering tutorial on the prototype forearm I'm building using the same methods (I actually used the forearm as a guinea pig every time I did something new to my helmet to make sure it turned out well). I didn't really like how that looked so I stared at the piece for a few minutes to figure out what was wrong with it before taking out my helmet and doing this
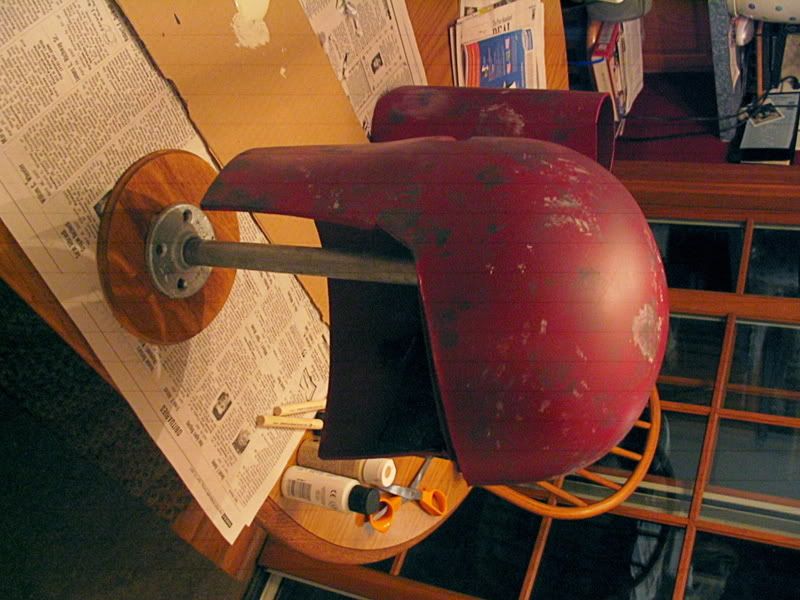
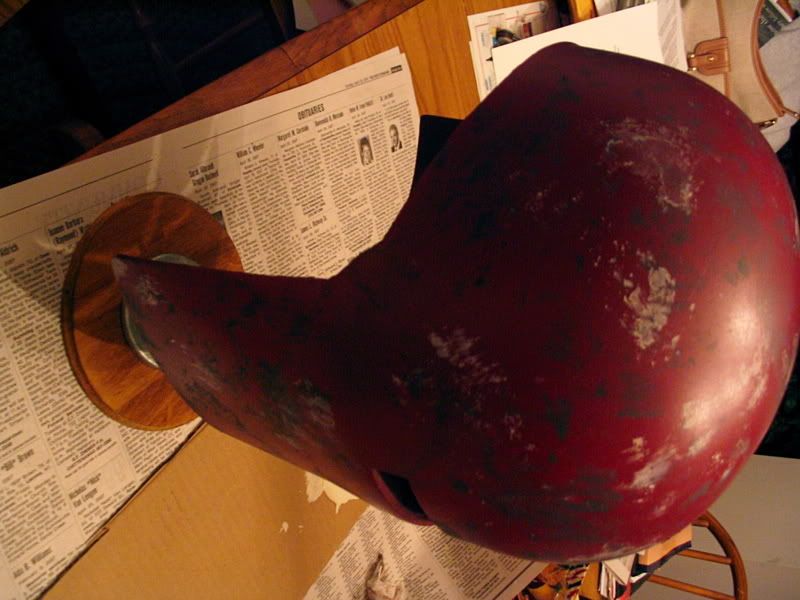
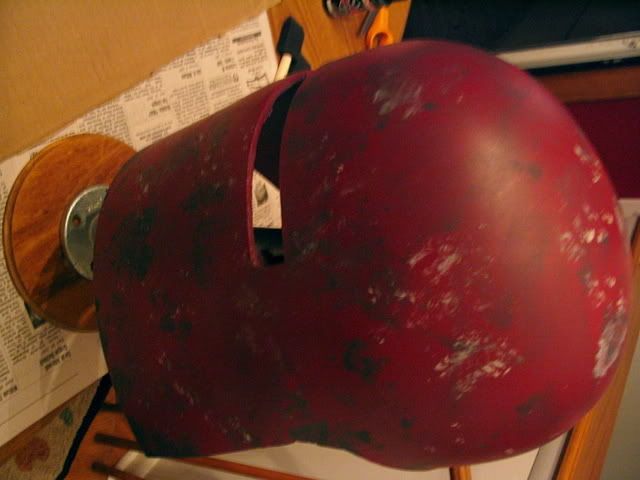
I took very minor liberties, but that helmet is weathered for the most part using TB's weathering tutorial. That's how far I am until I get more vinyl for the cowl. I'll update this as I progress to give people who want to make their own helmet something to go off of. Also, if anyone has any questions you can pm me or post them here and I will answer to the best of my ability.
I started out with a batting helmet. Basic, generic, and with very little ornamentation. I cut the bottom with the ears off measured around it to see how much sintra I would need for the shroud. Then, I looked at five or six reference shots of the back of the GM's head for about a half an hour to see how far the shroud would come down. I then took these measurements (I don't remember either of them) and added a few centimeters to make a template. It's easier to cut plastic off than to add it back on (as if you haven't heard that 2000 times already lol). Then I cut out the plastic and stuck it in the oven for 1:30 minutes or something around there at 300 degrees. The time it takes to make sintra maleable varies, if it's not flimsy enough when you try the first time just shove it back it the oven. Here's what the two pieces look like put together with scotch tape
I put the helmet on and realized the shroud was way too long, I couldn't turn my head from side to side lol. No biggie, I just started cutting off 1/2 cm sections one at a time until it fit well. Then I cut off the excess lengthwise plastic et voila, the two main pieces are finished!
There was still a substantial amount of snow on the ground so I couldn't use any bondo so I started out on the face plate. I made my own grid (in hindsight, it probably would have been a better idea to use graph paper) and drew half of the face. I then used the grid to make the face symetrical and taped the template on the helmet to see how it would look.
Then I stuck that on a piece of plastic, traced it, and cut it out. Next I stuck that in the oven for a good period of time and bent it to fit in the shaped of the helmet
After looking at that for awhile I realized it was wrong, the face had to be more contoured to get the distinctive "nose", and not just a straight curve. Here's the re-bent version.
This looked leaps and bounds better in my opinion. It was also taped it to check the look. I should note, at this point nothing has been permanently attached. Everything has been held together with either scotch tape or duct tape.
The next thing to do was to cut out the vent in the back. This is personally on my favorite parts of the whole helmet because of the air circulation I hope it will afford. I spent more time looking at reference pics and outlined where I thought the vent should be using blue painter's tape.
Then I cut that out, but I didn't cut to the very edge of where I had marked off because I can always cut more off, but I couldn't put any back on. Then I took a look at it and decided that those extra few centimeters should in fact come off.
By this time, the weather had started to warm up and I was ready to bondo the shroud to the dome. This was the first time I had used bondo in my entire life, so although there were some mistakes I can testify that this stuff is remarkably easy to use. The two biggest mistakes I made were that I put it on much thicker than was needed and I didn't mix it up very well. Having it on too thick meant I had to do a lot of extra sanding. Not mixing it well meant that the sanding was harder and it gummed up my sandpaper. Here's the first sanded version
I next hit it up with some grey primer to see how it looked. What I saw was a mess of divits and some glaring seam lines. This was all made worse by the fact that the poorly mixed bondo didn't take the primer well so it was a slightly different color than the rest of the helmet. Also, when prepping for bondo I sanded the area that was going to be bondo-ed with 60 grit sandpaper. I then went overboard and sanded the whole dome with 60 girt sandpaper. The dome is coated in some kind of soft plastic/gel material so it also had some large scratches in it *sigh*. Time for bondo application #2. This time I still didn't mix it very well again because I hadn't yet realized that that was one of my problems with the first application. I did apply it to cover more area in a thinner layer however so it would be easier to sand. The result was more divits, but smaller ones. I filled those in with spackle because I didn't want to mix any more bondo, and wiped it down with a washcloth to be primed. BIG MISTAKE. Spackle doesn't mix with water so my divits came back. Again, *sigh*. I sanded more to get rid of some divits and make others smaller and primed it grey again. I realized that the VERY SMALL divits actually worked well with the scratches in the dome to make it look pitted and battle scarred instead of like a poorly constructed prop (that's my opinion, you all may think it still looks like crap lol).
I left a lot of duct tape on the inside for structure. Does it look pretty? No. Will it remain hidden from the general public while keeping the shroud from falling off? Yes. I tend to use duct tape a lot for structural support during construction, and even for troop worthy pieces. It's one of my personal preference. Now it was finally ready for the burgundy top coat
I thought I took more pictures of that, but that's the only one I can find. The helmet sat looking pretty but incomplete for a week or so until I finally got the time and resources to weather. I tested out TB's awsome weathering tutorial on the prototype forearm I'm building using the same methods (I actually used the forearm as a guinea pig every time I did something new to my helmet to make sure it turned out well). I didn't really like how that looked so I stared at the piece for a few minutes to figure out what was wrong with it before taking out my helmet and doing this
I took very minor liberties, but that helmet is weathered for the most part using TB's weathering tutorial. That's how far I am until I get more vinyl for the cowl. I'll update this as I progress to give people who want to make their own helmet something to go off of. Also, if anyone has any questions you can pm me or post them here and I will answer to the best of my ability.


 Dude, that's turning out awesome! Great job on it! Hopefully mine turns out half as good.