|
|
Post by CloudStrife7 on Dec 4, 2010 12:14:59 GMT -5
It's looking great. Thanks for all the hard work you're doing!
|
|
|
|
Post by heatshock on Dec 6, 2010 19:43:46 GMT -5
|
|
|
|
Post by CloudStrife7 on Dec 7, 2010 10:51:00 GMT -5
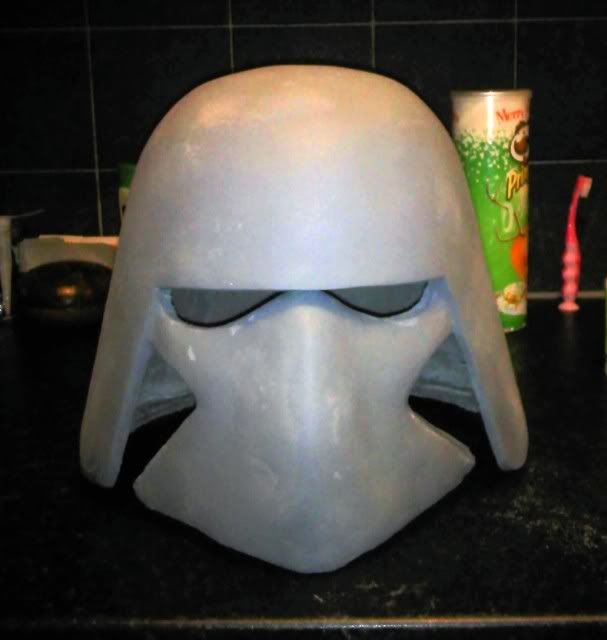
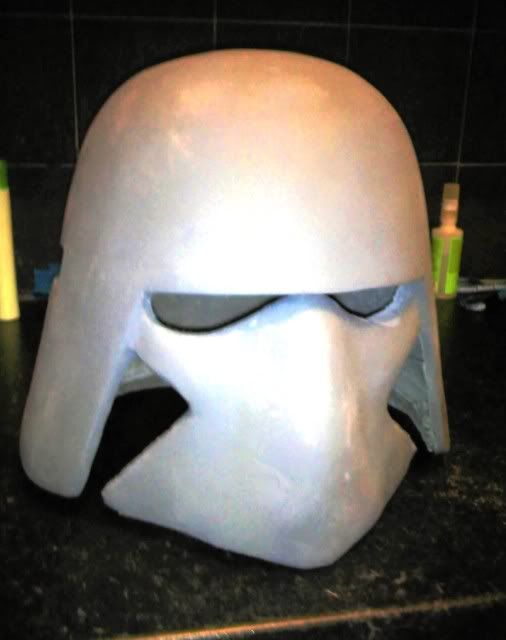
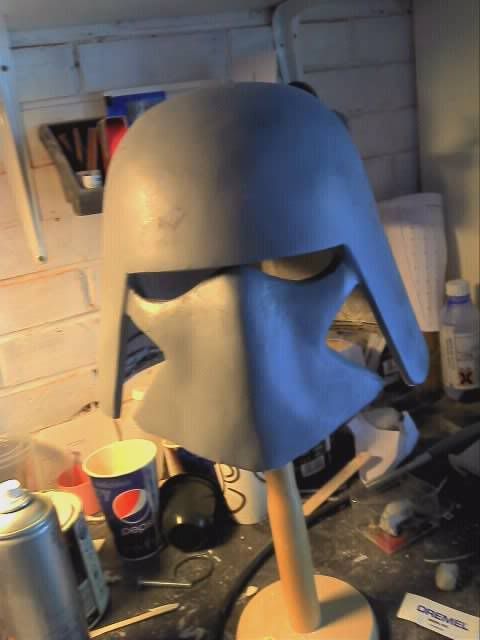
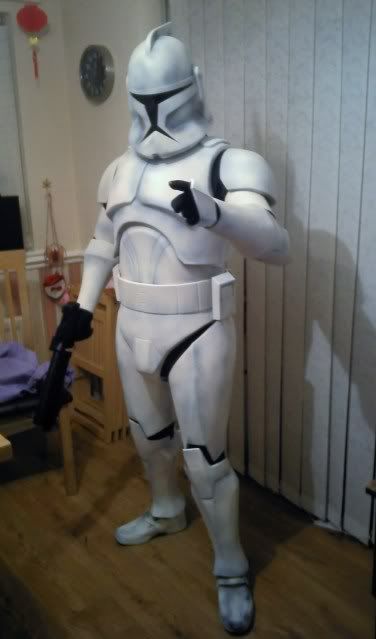
Looking good Nate! I was surprised to see that you removed the inside of the cheeks. I was hoping it would be filled in so I could just paint it tan and shape the cowl around beak part. Leaving the cheeks in would mean less work for whoever received it.  |
|
|
|
Post by heatshock on Dec 7, 2010 14:07:08 GMT -5
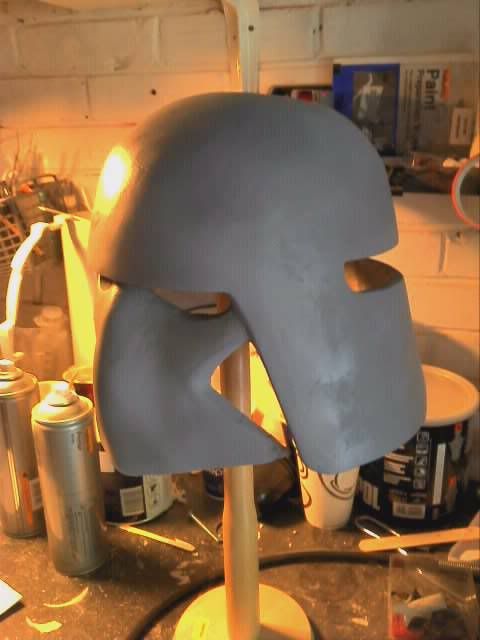
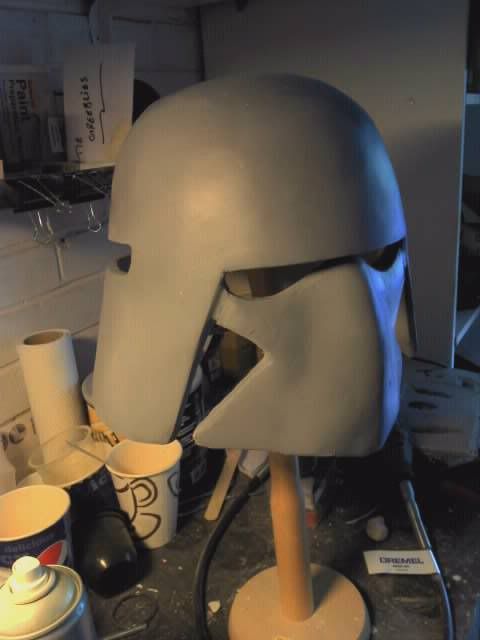
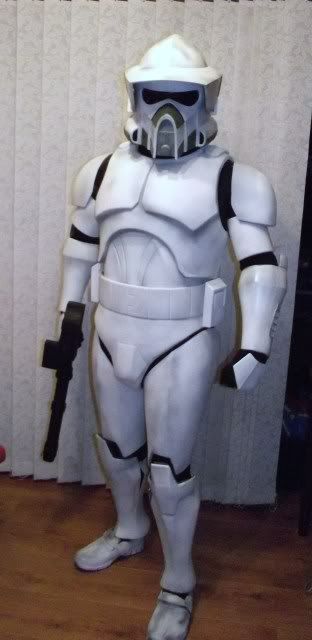
Rofl; mate read up the replies i made to earlier comments regarding the depth of cheeks. Its a pep build trick to create clean sharp corners. Altough since doing it; some gm's want it left un-filled in. Also; there should be a space between the cheek and the helmet. See evo3 build. Either way; i will prob need to re-attach the cheek for molding purposes anyway
|
|
|
|
Post by CloudStrife7 on Dec 7, 2010 15:24:33 GMT -5
What's a link to the evo3 build? Thought you weren't compairing your helmet to evo3 or sgb?  lol. I didn't mean for the cheeks to be filled in. I think they should be deeper than the helmet, obviously. I thought the cheeks looked great in the previous version of the helmet. |
|
|
|
Post by RamZnation on Dec 7, 2010 21:33:10 GMT -5
Looking pretty mean. I'm digging the updates.
|
|
|
|
Post by heatshock on Dec 8, 2010 1:18:00 GMT -5
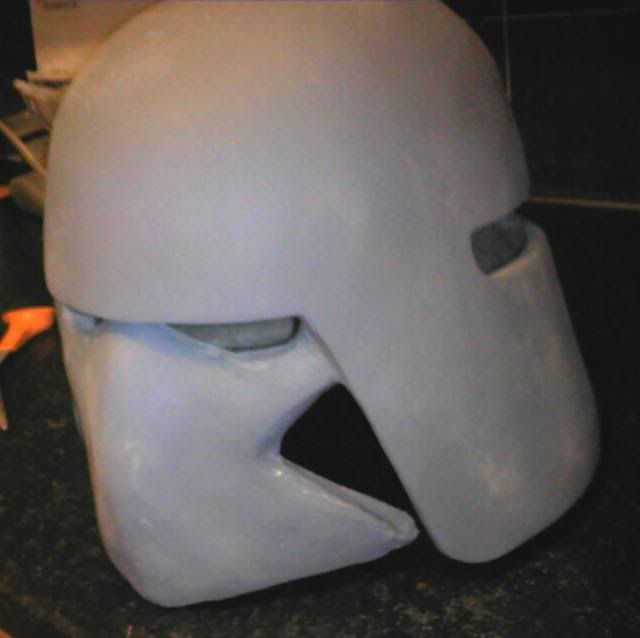
its on CT.net in the basic armour builds - forum.clonetroopers.net/index.php?showtopic=12399&hl=and not comparing to the helmet build (its a SGB helmet he uses)- but seeing how GMs fit a cowl, trying to experiment ot make it as easy for fellow GMs. Some just want it connecting the faceplate and the helmet, but the ref pics show a spae between the faceplate and the helmet rim itself. Not sure yet. Also have to think abt how to mold it. think its a trick of the pic - are you thinking there is no depth to the cheek? there is. The pics only show the bottom strut, but the one running under the eyes also have abt a 1 cm undercut? old pic - but it shows where I drew the line to make the cut: 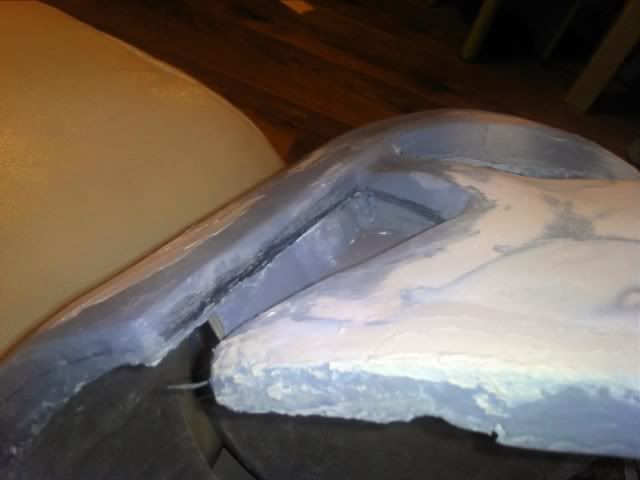 is that what you mean? when I mean filling in - its the flat (blue) triangle piece in you pic in the previous post that is at the bottom of the cheek recess. |
|
|
|
Post by CloudStrife7 on Dec 9, 2010 18:12:00 GMT -5
It's hard to explain. I hope cheeks will be either left on the finished helmet or included as seperate pieces to add in after installing the cowel. I know that the cheeks are indented - I think you're going in the right direction  |
|
|
|
Post by heatshock on Dec 20, 2010 20:42:01 GMT -5
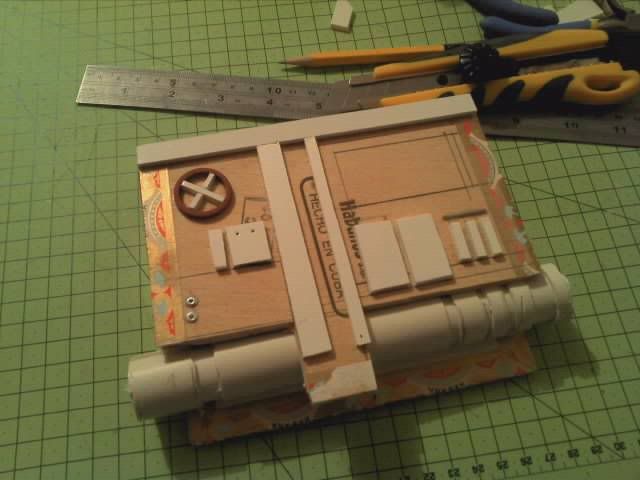
right guys, not forgotten. major freeze in UK and x'mas means I have not been able to get into the garage to work on teh lid so I have been experimenting with how to fix the cheek thing this is just a cardboard template; but ABS or HIPS should be able to be shaped quite easily as well:  offer it up to the cavity: 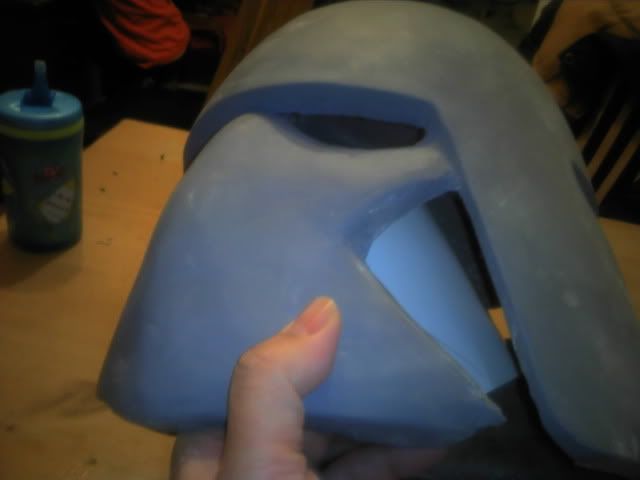 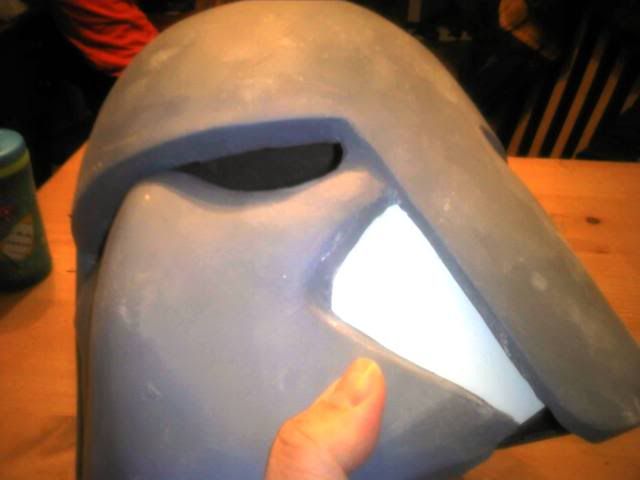 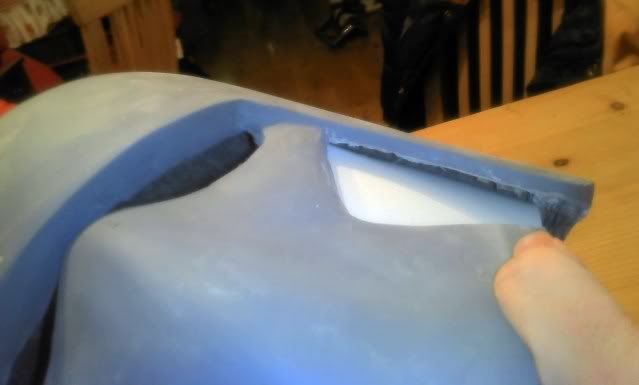 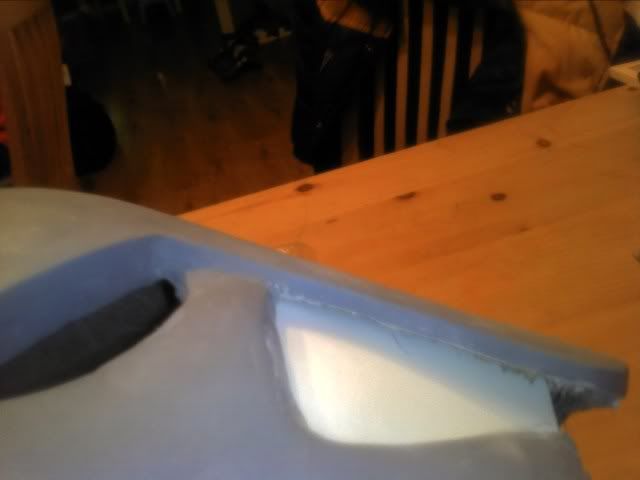 |
|
|
|
Post by RamZnation on Dec 21, 2010 23:39:04 GMT -5
Updates are looking good. Don't forget the rim on the cheek goes all the way around the bucket.
|
|
|
|
Post by boba on Dec 24, 2010 6:48:38 GMT -5
Good stuff Mr Nate  |
|
|
|
Post by heatshock on Feb 20, 2011 3:26:48 GMT -5
Not forgotten peeps, still trying to figure out this rim. Think wil take a lead from evo's build and build a rim into my helmet too.soz guys gonna have to re insert the cheeks
|
|
|
|
Post by bell on Apr 1, 2011 14:09:32 GMT -5
Have no fear guys Nate is working on this project. He's just crazy busy with other projects, you should see his garage.
|
|
|
|
Post by darren1970 on Apr 6, 2011 6:45:33 GMT -5
Yep, I'd second that.....his garage is like a warehouse of partially completed clone ( and other ) armour. LOL
|
|
|
|
Post by heatshock on May 15, 2011 11:26:35 GMT -5
|
|